
Most people cook bacon the same way every single time — toss a few strips in a frying pan, dodge the grease splatters, and hope for the best. But what if the best method actually starts with a completely cold oven? It sounds wrong, but it works. And that is just one of several tricks that can change the way bacon gets made on a regular weekday morning or a lazy Sunday brunch.
Why the frying pan is holding bacon back
Standing over a hot skillet while bacon pops and sizzles sounds like a normal morning. But honestly, it is one of the messiest ways to cook. The grease goes everywhere — on the stovetop, the counter, and sometimes even a shirt sleeve. Plus, most frying pans only fit a few strips at a time. That means cooking in batches, which takes forever when there are hungry people waiting. It is not just annoying. It is also easy to end up with unevenly cooked strips that are burnt on the edges and soft in the middle.
The stovetop method also requires constant attention. Walk away for even thirty seconds and the bacon can go from perfect to charcoal. For anyone with kids running around or other breakfast items to prepare, that kind of babysitting is a real pain. There are better ways to get perfectly crispy bacon without hovering over a stove. The good news is that a sheet pan and an oven can fix almost every single one of these problems.
Baking bacon on a sheet pan changes everything
Cooking bacon in the oven is not a new idea. Professional kitchens have been doing it for decades. The reason is simple — a rimmed baking sheet fits way more bacon than any frying pan. Instead of cooking four strips at a time, an entire package can go on one pan. The heat in the oven wraps around each strip evenly, so there is no need to flip anything halfway through. Every piece comes out looking and tasting the same, which is almost impossible on a stovetop.
The hands-off factor is the real winner here. Once the bacon goes in the oven, there is time to scramble eggs, cut fruit, pour coffee, or just sit down for a minute. Martha Stewart herself recommends this method, pointing out that oven bacon is not only crispier but also cooks more evenly because the strips sit in their own rendered fat. That fat essentially fries the bacon right on the pan. No splattering, no flipping, and no mess all over the stove.
The cold oven trick that cuts cooking time in half
Here is where things get interesting. Most oven bacon recipes say to preheat first, then put the bacon in. But skipping the preheat step actually saves a solid ten minutes and gives the exact same result. The idea is to place the bacon on a lined baking sheet, slide it into a completely cold oven, then set the temperature to 425 degrees Fahrenheit. As the oven heats up, the bacon slowly starts to cook and render its fat. By the time the oven reaches full temperature, the bacon is already well on its way.
A side-by-side test showed that both the cold oven and the preheated oven produced bacon that cooked for about 20 minutes total. The difference was that the cold oven method cut out the ten minutes of waiting for the preheat. Same bacon, same crispiness, less waiting. For anyone who hates standing around watching an oven heat up on a Saturday morning, this small change is a game changer. It sounds too lazy to work, but it absolutely does.
Parchment paper vs aluminum foil for lining the pan
One question that always comes up is whether to line the baking sheet with parchment paper or aluminum foil. Both work just fine, and either one makes cleanup much easier than scrubbing a bare pan. Parchment paper is popular because it is nonstick and the bacon peels right off. It also handles high oven temperatures without any issues. Many recipe writers, including Martha Stewart, suggest parchment as the go-to liner for oven bacon because it keeps things simple and mess-free.
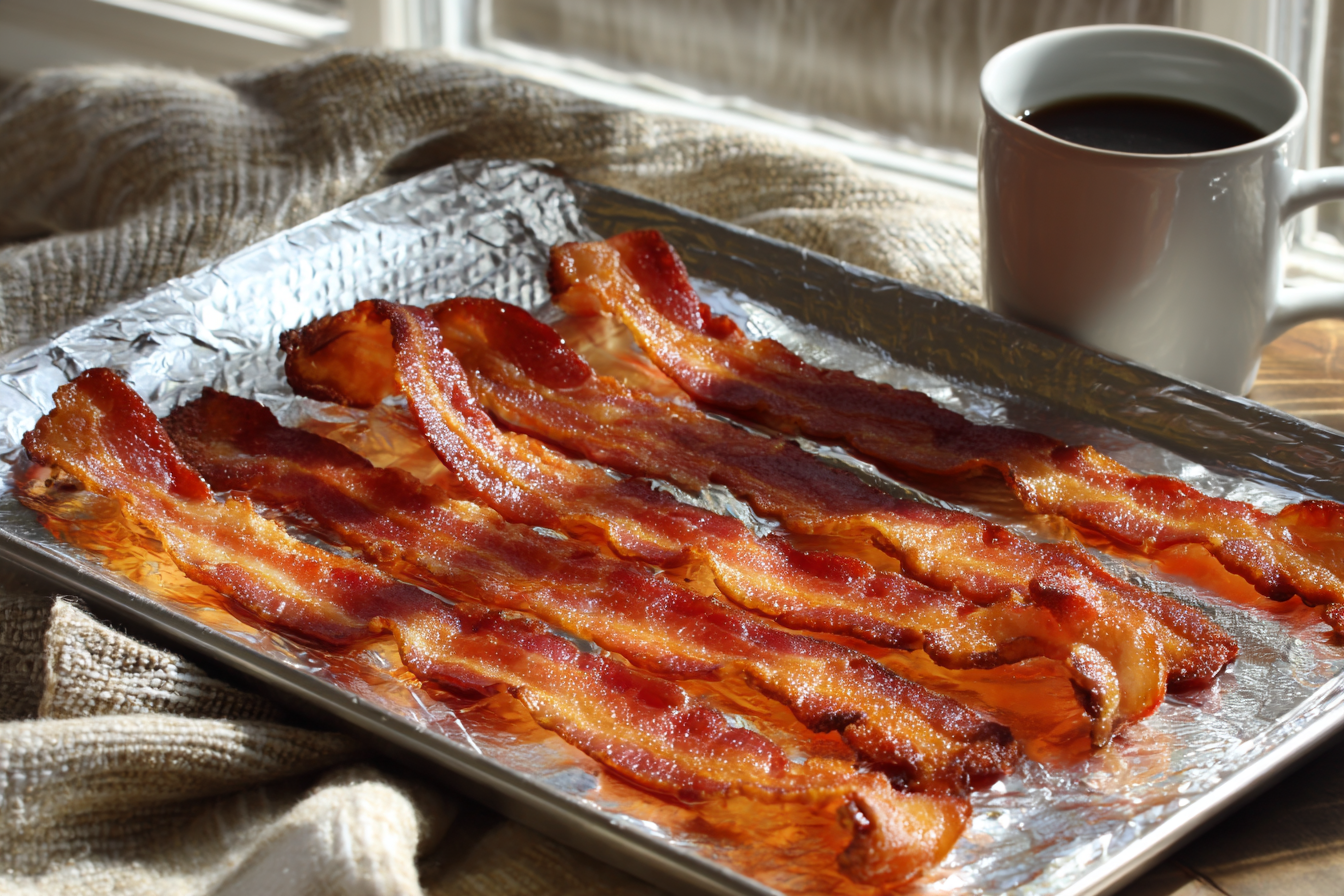
Aluminum foil, on the other hand, has its own advantage. The bacon grease tends to solidify more quickly on foil, which makes cleanup even faster. Just wait for the fat to cool, wrap up the foil, and toss it. No scrubbing required. Testing from one side-by-side comparison found that both liners gave equally good bacon. So the choice really comes down to personal preference. Either way, the important thing is to always use a rimmed baking sheet so the grease does not drip to the bottom of the oven.
Getting the right temperature and timing
Temperature matters a lot when it comes to oven bacon. The two most common temperatures are 350 degrees and 400 degrees Fahrenheit. At 350 degrees, bacon takes about 20 minutes and needs a flip halfway through. At 400 degrees, it cooks in 15 to 18 minutes and usually does not need flipping at all. If using the cold oven trick at 425 degrees, plan for about 15 to 20 minutes depending on how crispy the bacon needs to be. Thicker bacon always takes a little longer than thin strips.
The best advice is to start checking around the 15-minute mark. Ovens vary, and what takes 18 minutes in one kitchen might take 15 in another. Also, bacon continues to crisp up a bit after it comes out of the oven, so pulling it slightly before it looks done is actually a smart move. Transfer the strips to a paper towel to drain, and they will firm up perfectly in about a minute. Rotating the sheet pan halfway through is optional but helps if the oven has hot spots.
How to lay out bacon for even cooking
It might seem obvious, but the way bacon is arranged on the sheet pan makes a big difference. Every strip should lay flat in a single layer with a little bit of space between each one. Overlapping strips will steam instead of crisp, and nobody wants steamed bacon. A standard rimmed baking sheet fits about 10 to 12 regular strips without crowding. If cooking a whole package, it might take two pans, but that is still faster than doing multiple batches in a skillet.
Some people like to use a wire rack set inside the baking sheet. This lifts the bacon up and lets the fat drip down, which can make the strips even crispier. It is a good option for people who prefer a really crunchy result. The downside is that a wire rack is harder to clean than just tossing a sheet of foil. For most mornings, laying the bacon flat directly on a lined pan is the easiest approach and still gives great results every time.
The saucepan method for a whole package at once
What if there is no time for the oven at all? There is another trick that sounds completely ridiculous but actually works. Instead of separating bacon strips, the entire package goes into a saucepan over medium heat. Yes, the whole thing in one clump. As the bacon heats up, the fat starts to render and the strips begin to loosen. Using tongs to separate and toss the strips lets every side cook evenly in the pool of melted fat. It takes about 15 minutes from start to finish.
This saucepan method became popular on social media and has been called “chaos cooking” by fans online. The bacon comes out evenly cooked throughout each strip, without burnt edges or raw spots. It is slightly chewier than oven bacon, which might not work for people who want that shatter-crispy texture. But for anyone who just wants fast, tasty bacon without messing up the whole kitchen, this method is surprisingly effective. It is also great for cooking large amounts without needing multiple pans.
What to do with all that leftover bacon fat
After cooking a full sheet pan of bacon, there is going to be a lot of rendered fat left behind. Tossing it down the drain is a terrible idea because it hardens and clogs pipes. Instead, let it cool slightly and pour it into a glass jar with a lid. Store it in the fridge and use it later for cooking eggs, roasting vegetables, or making cornbread. Bacon fat adds an incredible richness to almost anything it touches, and keeping a jar in the fridge is like having a secret weapon for weeknight meals.
Another great trick is to cook eggs right on the sheet pan while the fat is still hot. Just crack a few eggs onto the greasy pan after removing the bacon and slide it back into the oven for a few minutes. The eggs cook in the bacon fat and come out amazing. Some people also add frozen hash browns to part of the sheet pan at the start, so the entire breakfast cooks at once. One pan, one oven, one cleanup — that is a good morning.
Common mistakes that ruin oven bacon
Even though oven bacon is pretty foolproof, there are a few things that can go wrong. The biggest mistake is using a flat baking sheet without a rim. The fat has nowhere to go and can spill onto the oven floor, which creates smoke and a nightmare to clean up. Always use a rimmed sheet pan. Another mistake is overcrowding the pan. When strips overlap, they end up soggy and unevenly cooked. Give each strip its own space so the heat can reach every surface properly.
Leaving bacon in the oven too long is another easy mistake, especially with the cold oven trick. Because the bacon goes in before the oven is hot, it is tempting to set a long timer and walk away. But that last couple of minutes matter a lot. Bacon goes from perfectly crispy to burned very fast. Set a timer and check it a minute or two before the expected finish time. And always remember that the strips will keep crisping after they come out, so pulling them slightly early is always better than waiting too long.
Whether it is the cold oven trick, the classic sheet pan approach, or even the saucepan method, there is really no reason to stand over a sizzling frying pan anymore. Each of these techniques makes bacon easier, less messy, and more consistent. The cold oven method is probably the biggest time saver of them all, and it works with any type of bacon. Try it this weekend and see how much better a lazy breakfast can actually be.
Cold Oven Crispy Sheet Pan Bacon
Course: BreakfastCuisine: American6
servings2
minutes20
minutes160
kcalThe laziest way to cook perfect bacon every time — just start with a cold oven and let it do all the work.
Ingredients
1 pound bacon (regular or thick-cut)
Aluminum foil or parchment paper for lining
1 rimmed baking sheet (half sheet pan)
Optional: freshly cracked black pepper
Directions
- Line a rimmed baking sheet with aluminum foil or parchment paper. Make sure the foil or parchment comes up the sides of the pan to catch all the rendered fat. This step makes cleanup incredibly easy.
- Lay the bacon strips in a single layer on the lined baking sheet. Leave a small gap between each strip so they do not overlap or touch. Overlapping strips will steam and turn out soggy instead of crispy.
- Place the sheet pan with the bacon into a completely cold oven. Do not preheat. Set the oven temperature to 425 degrees Fahrenheit and set a timer for 15 minutes.
- At the 15-minute mark, check the bacon through the oven window or by carefully opening the door. If the bacon is not yet at the desired crispiness, continue baking for 3 to 5 more minutes. Keep a close eye on it since bacon can go from perfect to burnt very quickly.
- Once the bacon reaches the desired level of crispiness, carefully remove the sheet pan from the oven using oven mitts. The pan will be very hot and full of liquid fat, so move it slowly and steadily to a heat-safe surface.
- Use tongs to transfer the cooked bacon strips to a plate lined with paper towels. Let the bacon rest for about one minute on the paper towels. The strips will continue to crisp up slightly as they cool.
- If desired, sprinkle a little freshly cracked black pepper over the bacon while it is still warm. Serve immediately alongside eggs, toast, pancakes, or any other breakfast favorites.
Notes
- Thick-cut bacon will need an extra 3 to 5 minutes compared to regular bacon. Start checking at 17 minutes and adjust from there.
- Aluminum foil makes cleanup slightly easier because the bacon fat solidifies on it, but parchment paper works just as well for a nonstick surface.
- Bacon continues to crisp after it comes out of the oven, so pull it about one minute before it looks perfectly done to avoid overcooking.
- Save the rendered bacon fat in a glass jar in the fridge. Use it later for frying eggs, roasting potatoes, or adding richness to other dishes.
- For extra-large batches, use two sheet pans and swap their oven positions halfway through cooking to ensure even results.
Frequently Asked Questions
Q: Can I use the cold oven trick with thick-cut bacon?
A: Yes, thick-cut bacon works great with the cold oven method. It just needs a few extra minutes of cooking time. Start checking around the 18-minute mark and add time in one-minute increments until the strips reach the desired crispiness. The slow warm-up actually helps thicker slices render more fat before the edges start to crisp.
Q: Do I need to flip the bacon when cooking it in the oven?
A: In most cases, no. At 400 degrees or higher, the oven heat circulates evenly around the bacon and eliminates the need to flip. If cooking at a lower temperature like 350 degrees, flipping once halfway through can help with even browning. But for the cold oven method at 425 degrees, just leave the bacon alone and let the oven do the work.
Q: How do I store leftover cooked bacon?
A: Let the cooked bacon cool completely, then place the strips in an airtight container or a zip-top bag with paper towels between the layers. Store it in the refrigerator for up to five days. To reheat, microwave for about 15 to 20 seconds per strip or pop it back in the oven at 350 degrees for a few minutes until it warms through.
Q: Is it safe to put aluminum foil in the oven at 425 degrees?
A: Absolutely. Standard aluminum foil is safe to use in the oven at temperatures up to at least 450 degrees Fahrenheit. Just make sure the foil is pressed snugly against the rimmed baking sheet so it does not shift around. Using foil makes cleanup faster because the cooled bacon grease peels right off with the foil when it is time to toss it.
